Placing an order
Express and Advanced order flows for bulk gift cards.
Updated October 3, 2026
Placing an order is how a Corporate Admin actually sends gift cards. The portal offers two paths: Express Mode (the default, optimised for the common case) and Advanced Mode (an 8-step builder for orders that need fine control). This page walks the Express Mode flow end to end, then notes when to drop into Advanced.
If you have not finished billing yet, you cannot get past this form. See Creating an account for the billing prerequisite.
Where to start
From the dashboard, click Send Gift Cards in the sidebar or use the green Send Gift Cards card on the dashboard body. Both lead to the order page, which opens with a program picker and a mode chooser stacked on the same screen.
Pick a program (or skip)
Before you can fill in recipients and amounts, the order page asks two questions in this order:
- Which program is this order for? Pick an existing program if you've set one up, or create one inline. Programs let you reuse settings across recurring sends and roll the order up in Reports.
- If you don't have a program yet, choose Create Custom Order to skip the program step and configure everything manually for this single order.
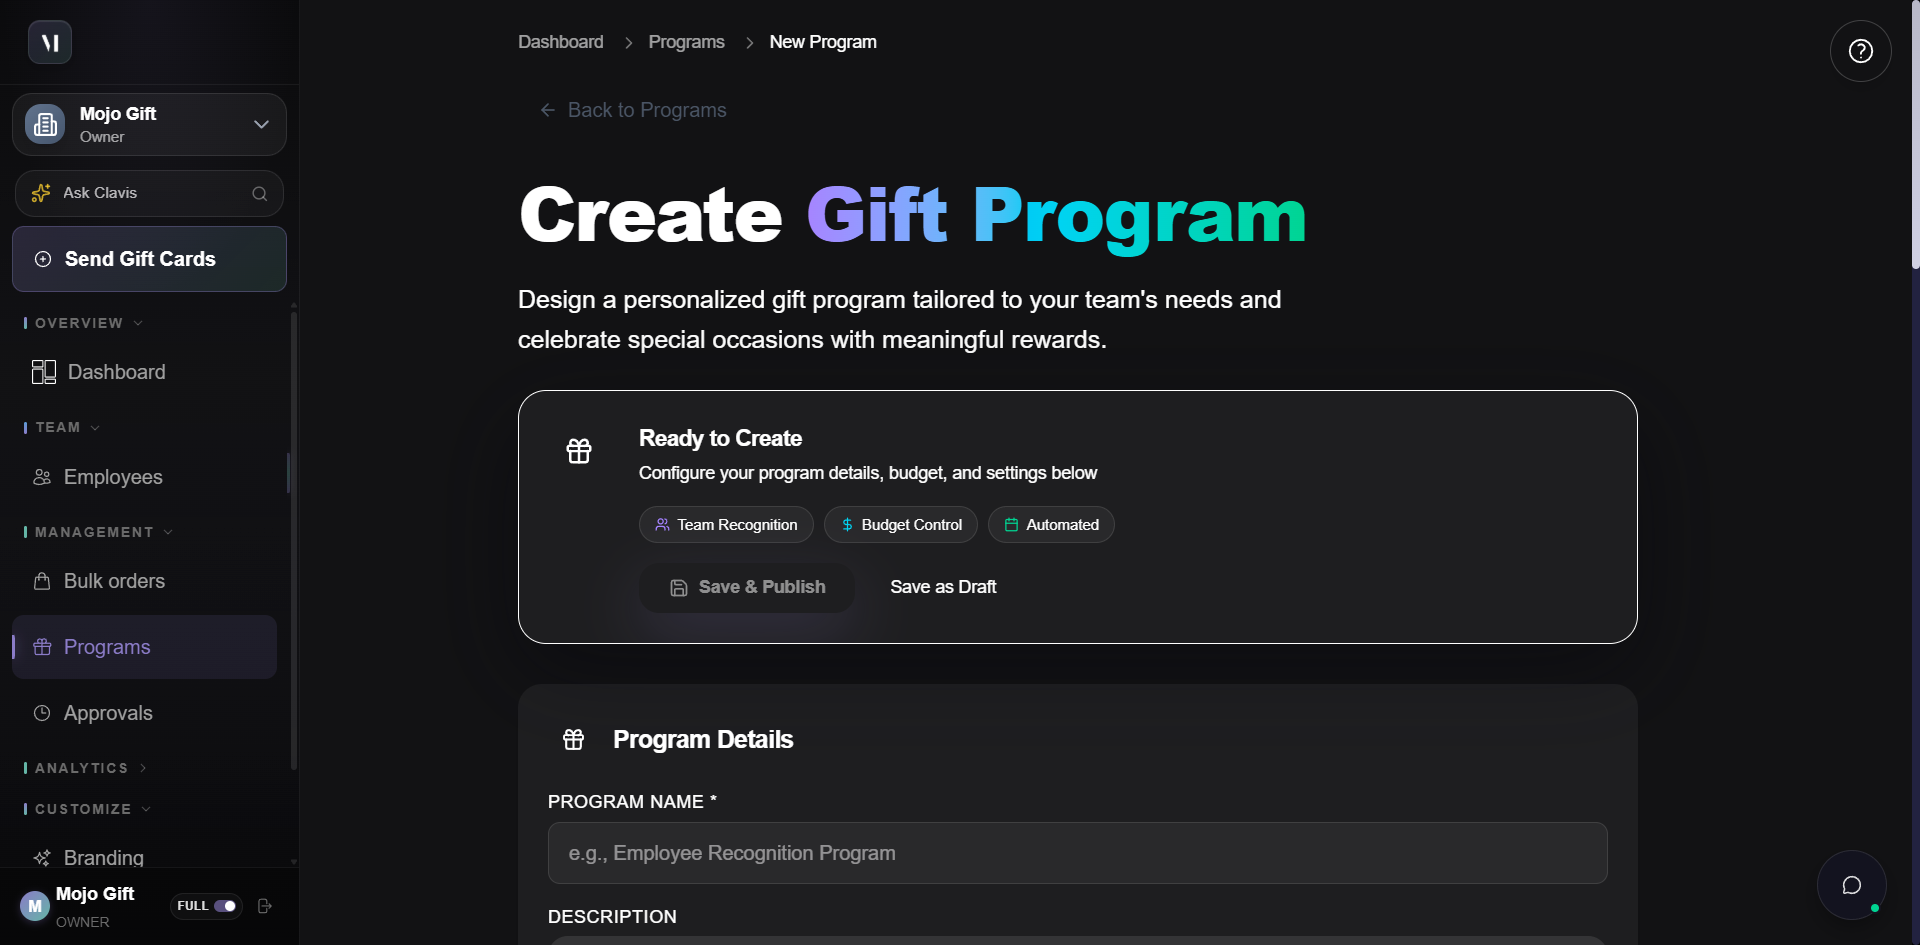
| Choice | What it does |
|---|---|
| An existing program | Pre-fills cover, message template, and currency from the program. You still pick recipients and amounts. |
| Create My First Program | Opens an inline program creation flow, then resumes the order. Use when you'll send the same shape of gift more than once. |
| Skip - Use Custom Order Instead | One-off order. Nothing is saved as a reusable template. |
After you make this choice, the rest of the form (recipients, gift card, etc.) appears below.
Express Mode vs Advanced Mode
The mode chooser at the top of the order page is your second decision.
| Mode | Use when |
|---|---|
| Express Mode (recommended) | Same tier, same cover, same message for everyone. Single page, three sections, fastest path. |
| Advanced Mode | Different amounts per recipient, custom branding per cover, scheduled per-recipient delivery, or program-driven automations. 8-step wizard. |
Express Mode is what the rest of this page covers. Skip ahead to When to use Advanced Mode if Express isn't enough.
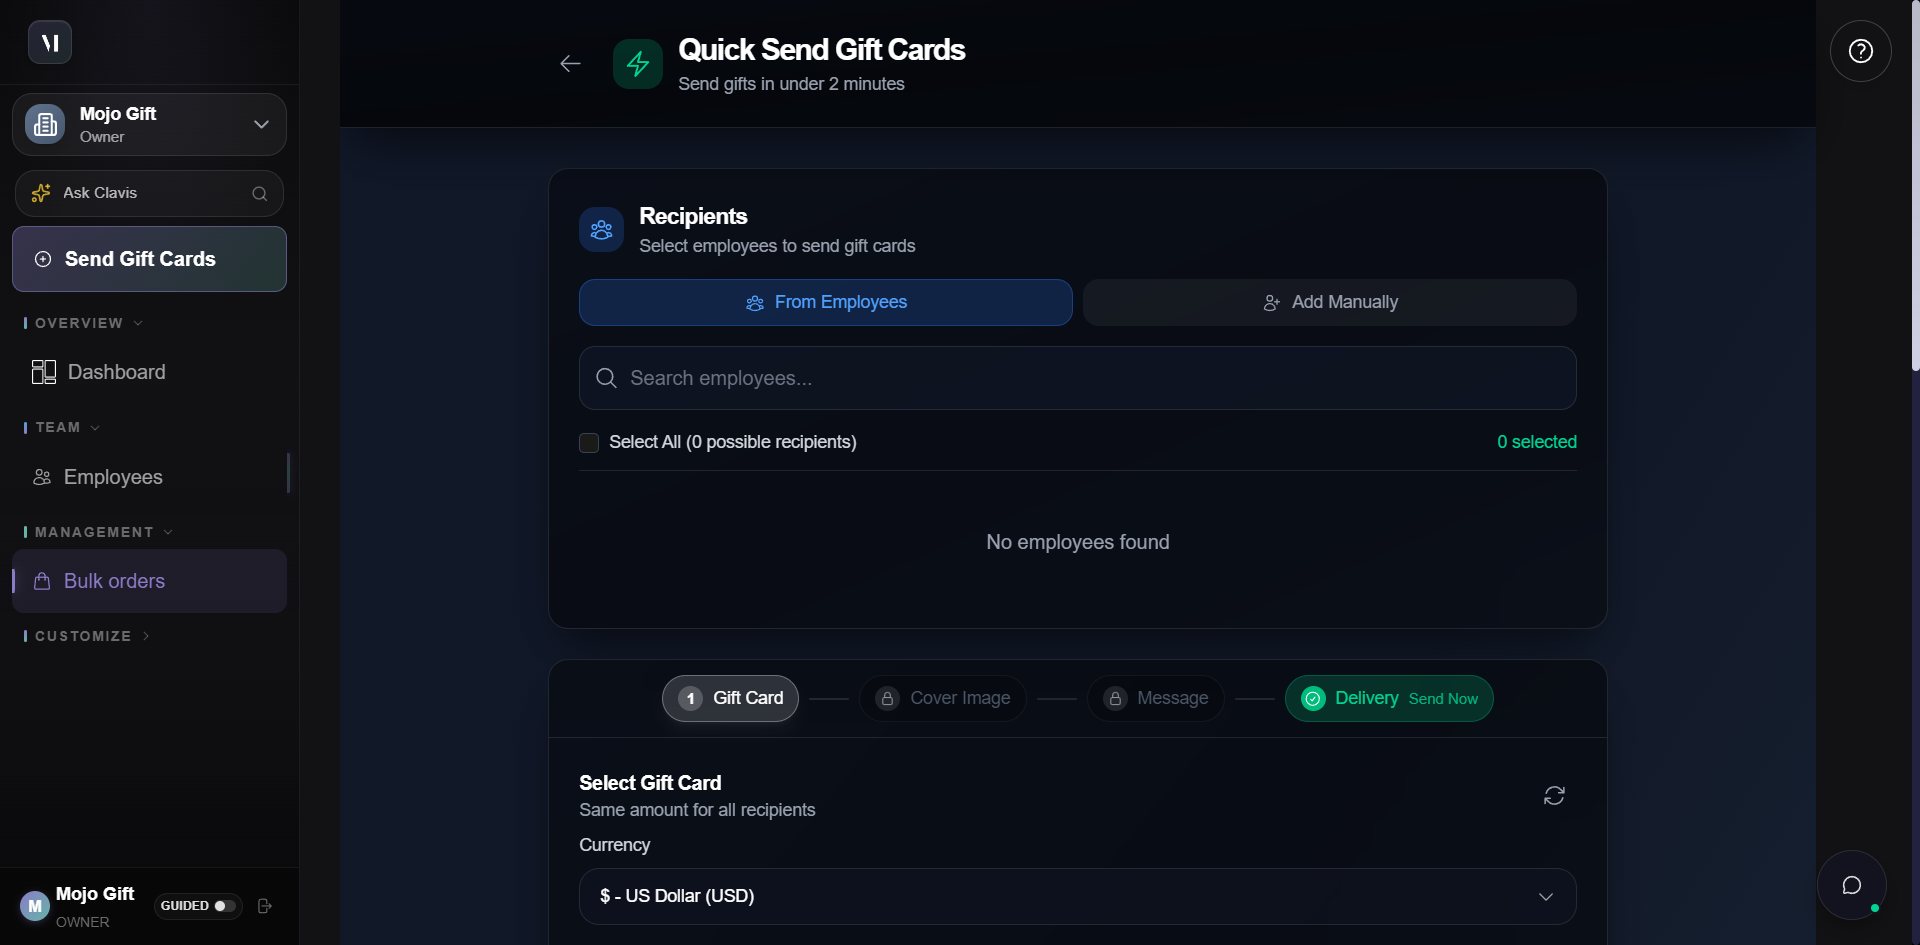
The Express form has three working areas:
| Area | What it controls |
|---|---|
| Recipients | Who receives the cards. Pick from your employee directory, or add people manually. |
| Gift Card | Which tier (and currency) the cards are sent at. |
| Footer | Live total, a Preview button, and Review & Send to advance. |
A separate horizontal stepper above the gift card section (Gift Card → Cover Image → Message → Delivery) lets you jump between optional sub-sections without scrolling.
Step 1: Choose recipients
There are two tabs at the top of the Recipients section.
From Employees
Pulls from your saved employee directory. Search, multi-select, or use Select All to include everyone visible. Empty the directory? See Managing employees for how to add records first, or use Add Manually below.
Add Manually
Adds one-off recipients without saving them to the directory. Use this for ad-hoc sends (a vendor, a contractor, a friend of the company).
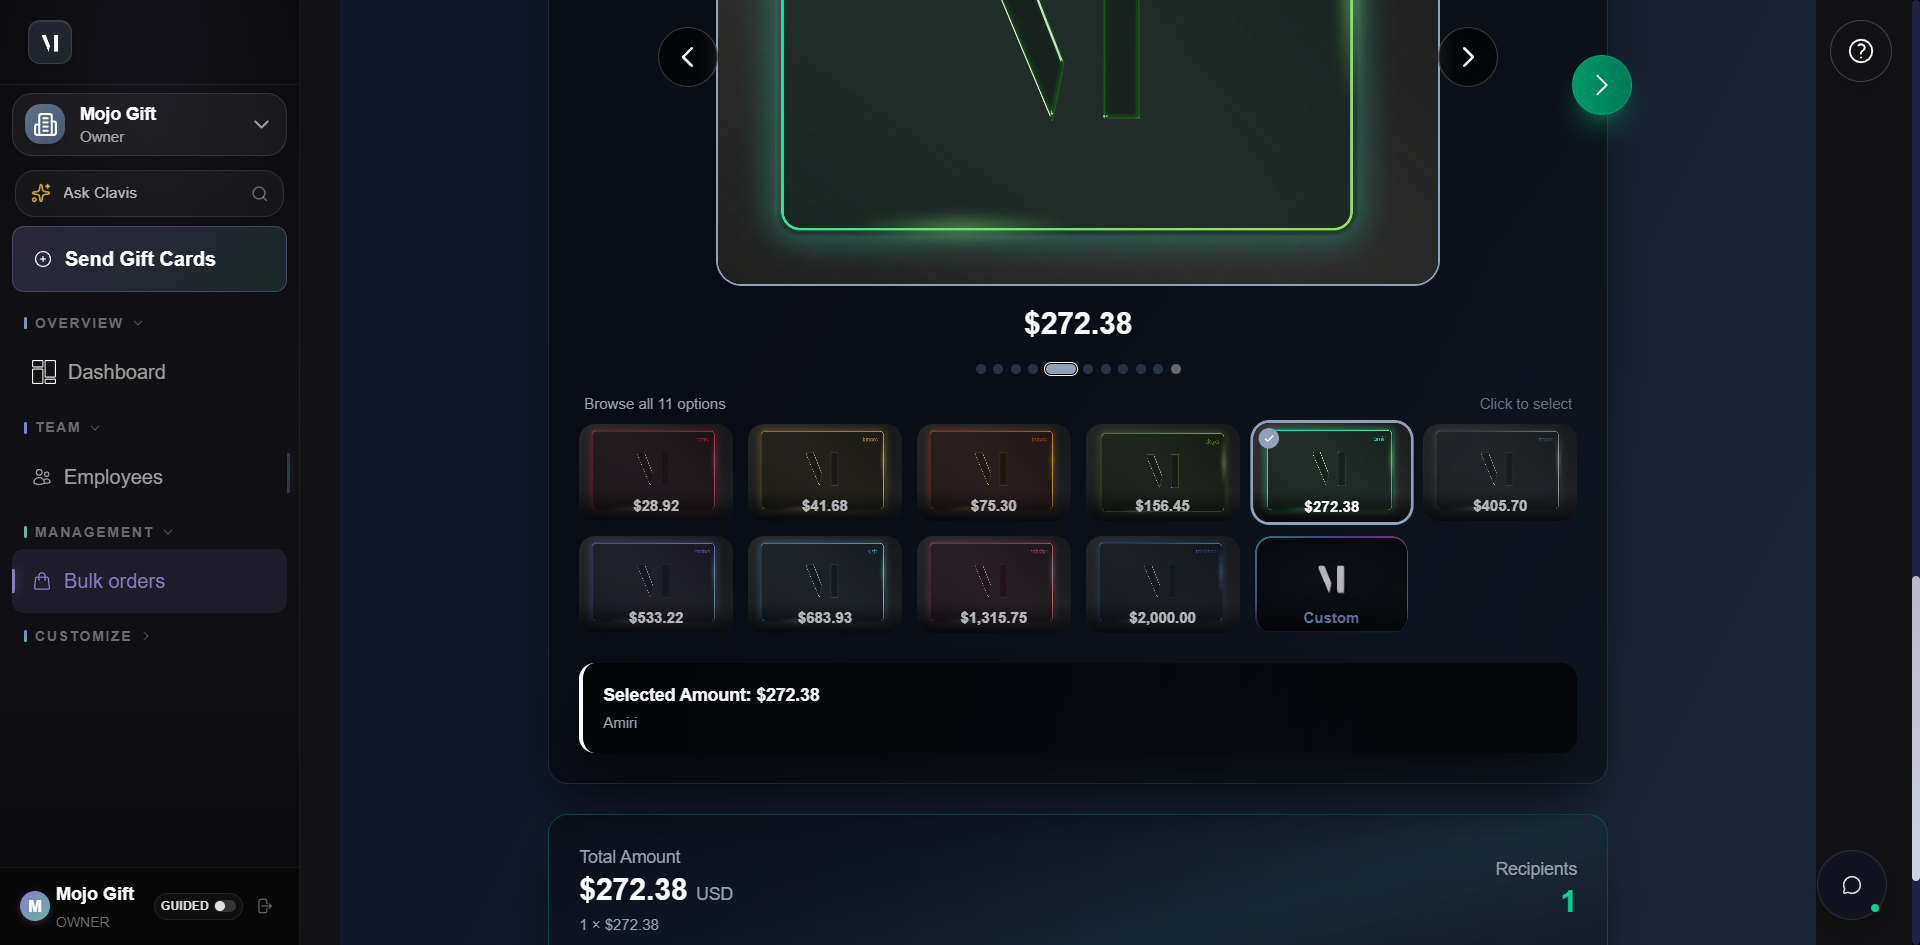
For a long list, use Upload CSV instead of typing recipients one at a time. The Template button downloads the expected column layout. See CSV bulk import for the column reference.
Step 2: Pick a gift card
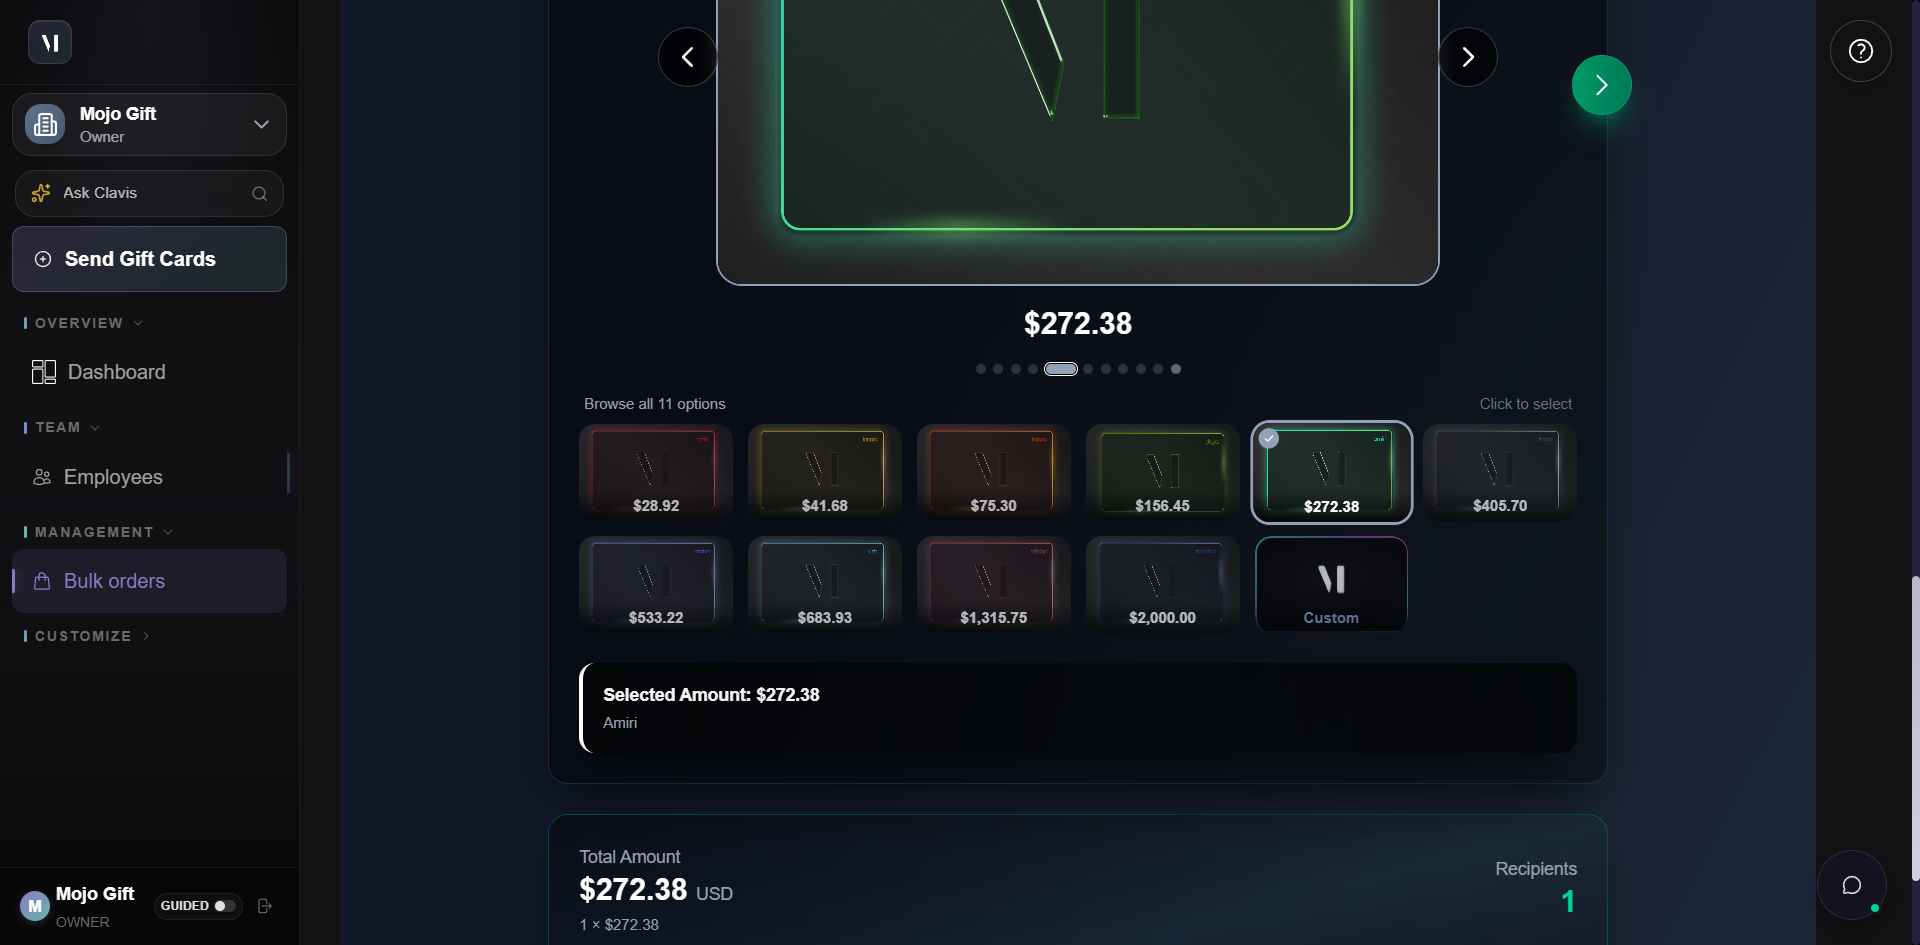
The Gift Card section shows a carousel of all 12 tier presets, plus a Custom tile for amounts that don't match a preset.
| Control | What it does |
|---|---|
| Currency | Defaults to your account's billing currency. Switching it changes the tier prices accordingly. |
| Tier carousel | Click any tile to select that tier. The selected tile gets a coloured border. |
| Custom | Lets you enter an arbitrary amount. Useful when you need to top up to a specific budget. |
The same tier applies to every recipient in the order. If you need different amounts per recipient, switch to Advanced Mode.
Step 3: Cover image, message, delivery (optional)
The horizontal stepper above the gift card section reveals three optional refinements:
| Step | What it does |
|---|---|
| Cover Image | Pick a themed cover (Work Anniversary, Celebrating Your Journey, etc.) for the recipient email. Or Skip cover selection for the default. |
| Message | A short personal note that goes to every recipient. |
| Delivery | Defaults to Send Now. Switch to scheduled if you want it to fire on a specific date. |
You don't have to touch any of these. Express Mode works with all three at their defaults.
Step 4: Review and send
Click Review & Send in the footer. The form switches into a read-only review screen.
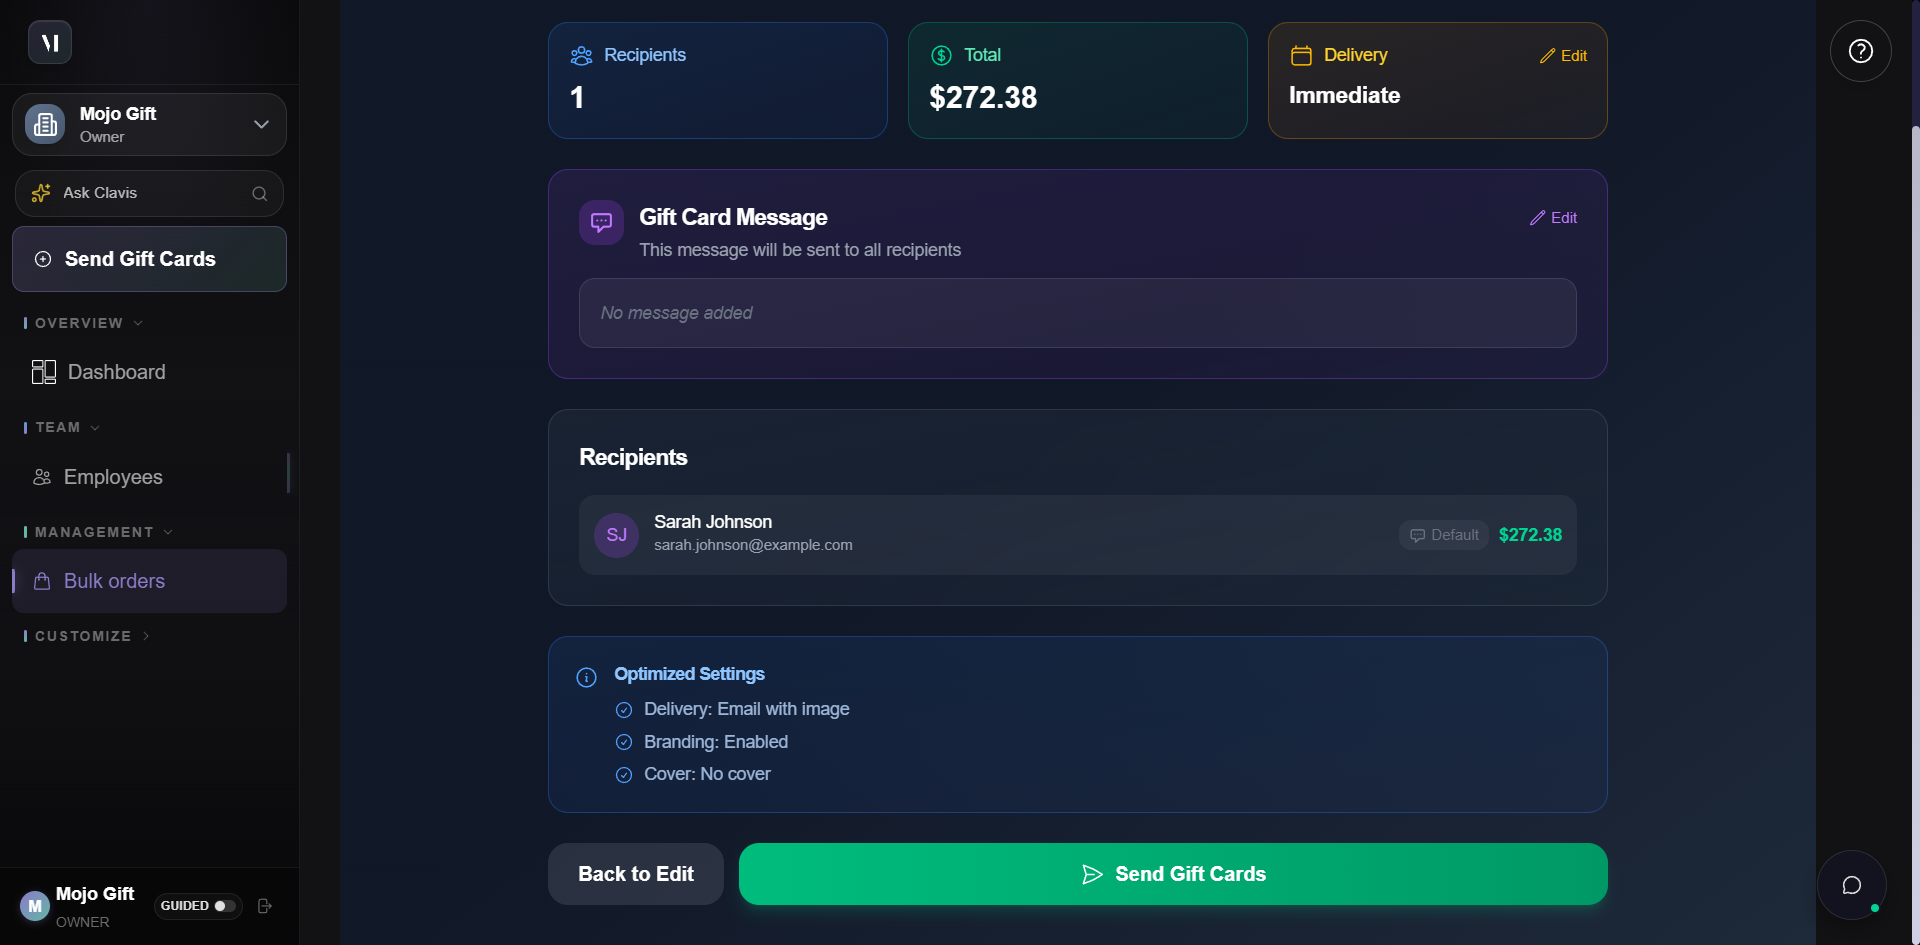
The review screen confirms:
- The recipient count and total.
- The delivery mode (Immediate or scheduled).
- The message that will be sent (if any).
- The list of recipients with the per-person amount.
- An Optimized Settings summary covering delivery channel, branding, and cover image.
If anything looks wrong, Back to Edit returns you to the Express Mode form with all your inputs preserved. Send Gift Cards submits the order.
When to use Advanced Mode
Express Mode covers the common path: same tier, same cover, same message, same delivery time, send now. Switch to Advanced Mode (the Start Advanced Order button at the top of the page, or Switch to Advanced Mode from inside Express) when you need any of:
- Per-recipient amounts. Different tiers for different people in the same order.
- A program with custom rules. Tying the order to a configured program for reporting and automation.
- Custom delivery scheduling per recipient (for example, a staggered roll-out).
- Custom branding beyond the cover image picker.
Advanced Mode is an 8-step builder: Program → Recipients → Amounts → Customize → Cover → Schedule → Delivery → Review. Each step is its own page with Back and Next buttons. The same horizontal stepper at the top lets you jump backwards to any step you've already completed.
What's next
- CSV bulk import covers the recipient upload format.
- Approvals covers what happens to the order between submission and recipient delivery.
- Programs is what you set up to make recurring sends fire automatically.
- Reports is where you check whether recipients have actually redeemed.