Creating an account
Setup flow for new corporate customers.
Updated October 3, 2026
A new corporate account is created entirely from the public landing page. There is no separate "request access" or "contact sales" step. This page walks through the registration form field by field, what happens after you submit it, and what you have to do before you can place your first order.
If you already have an account, skip this page and go to the login page.
Where registration starts
Both Get Started in the hero and Create Corporate Account at the bottom of the corporate landing page lead to the same form at /auth/register?type=corporate. The form has three steps: your details, your company details, and a confirmation screen.
You can also reach the form directly using the link above. There is no payment required to set up the account. You only get billed when an order is placed.
Step 1: Your Details
The first screen captures the person who is registering, not the company. This will be the primary admin on the corporate account.
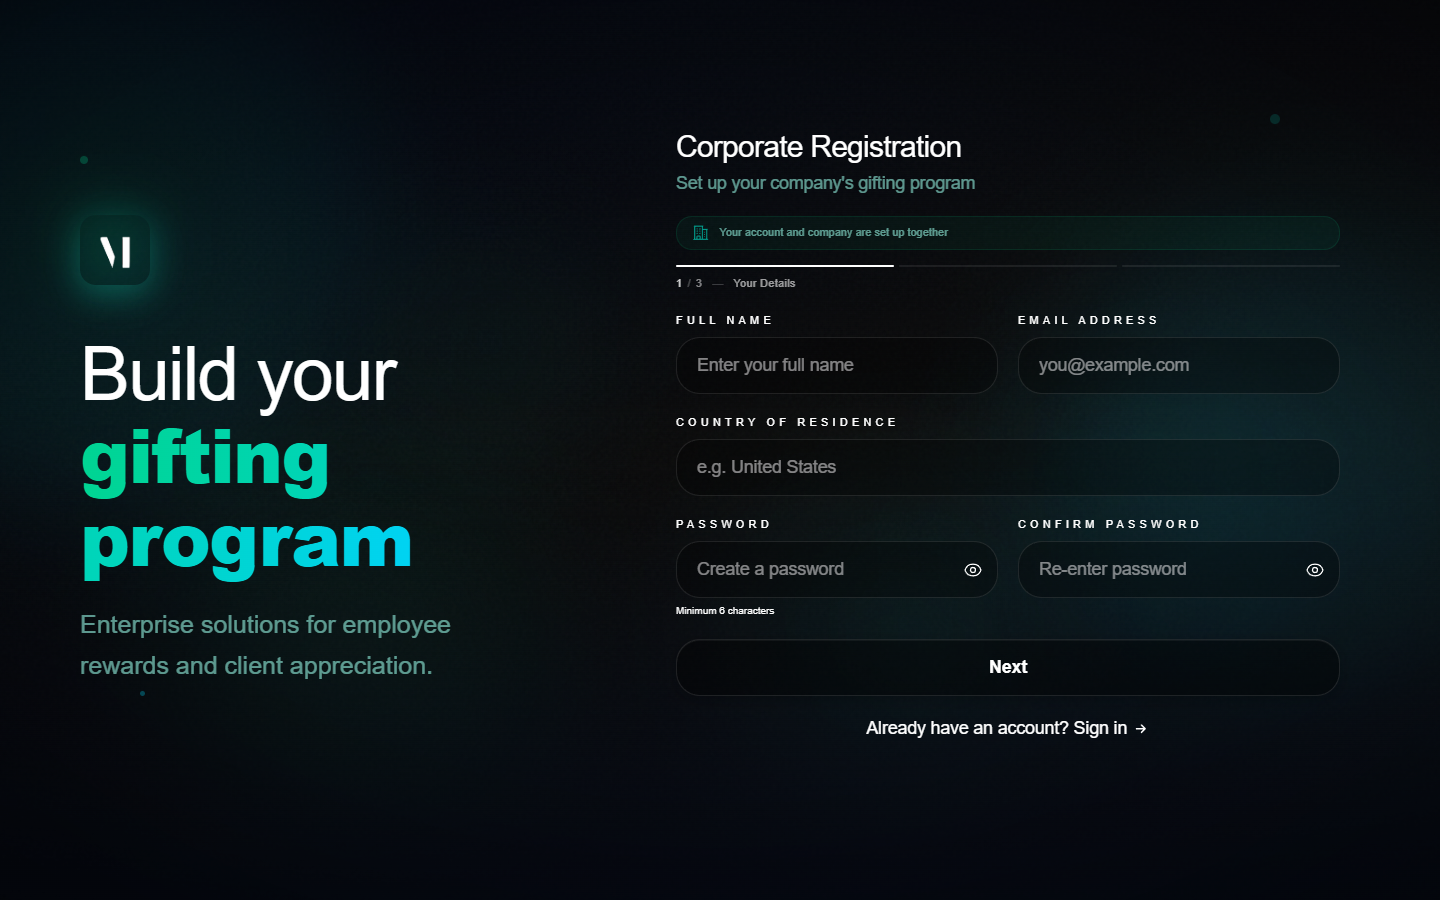
| Field | What to enter |
|---|---|
| Full Name | Your full legal name. Shown on internal account records. |
| Email Address | The email you sign in with. Used for password resets and invite confirmations. |
| Country of Residence | Free-text country. Used for tax and billing routing. Not the company's country, yours. |
| Password | Minimum 6 characters. The strength meter underneath shows weak, medium, or strong. Use a mix of upper, lower, digits, and symbols to reach strong. |
| Confirm Password | Must match Password exactly. A green check appears underneath when they match. |
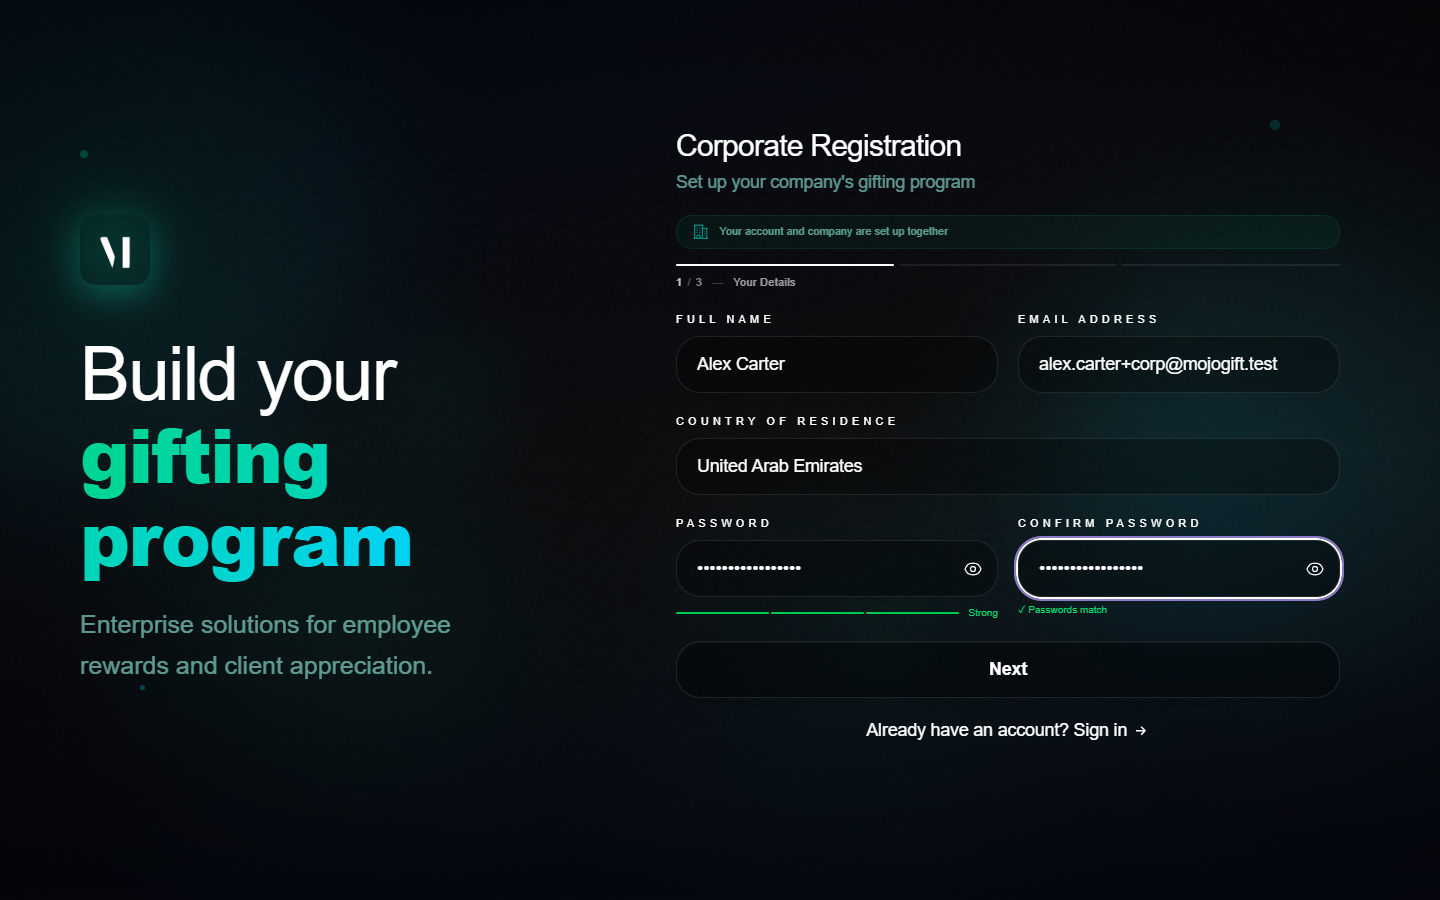
Click Next to continue.
Step 2: Company
The second screen captures the company itself. There are two required fields up top and a collapsible section for billing and address details.
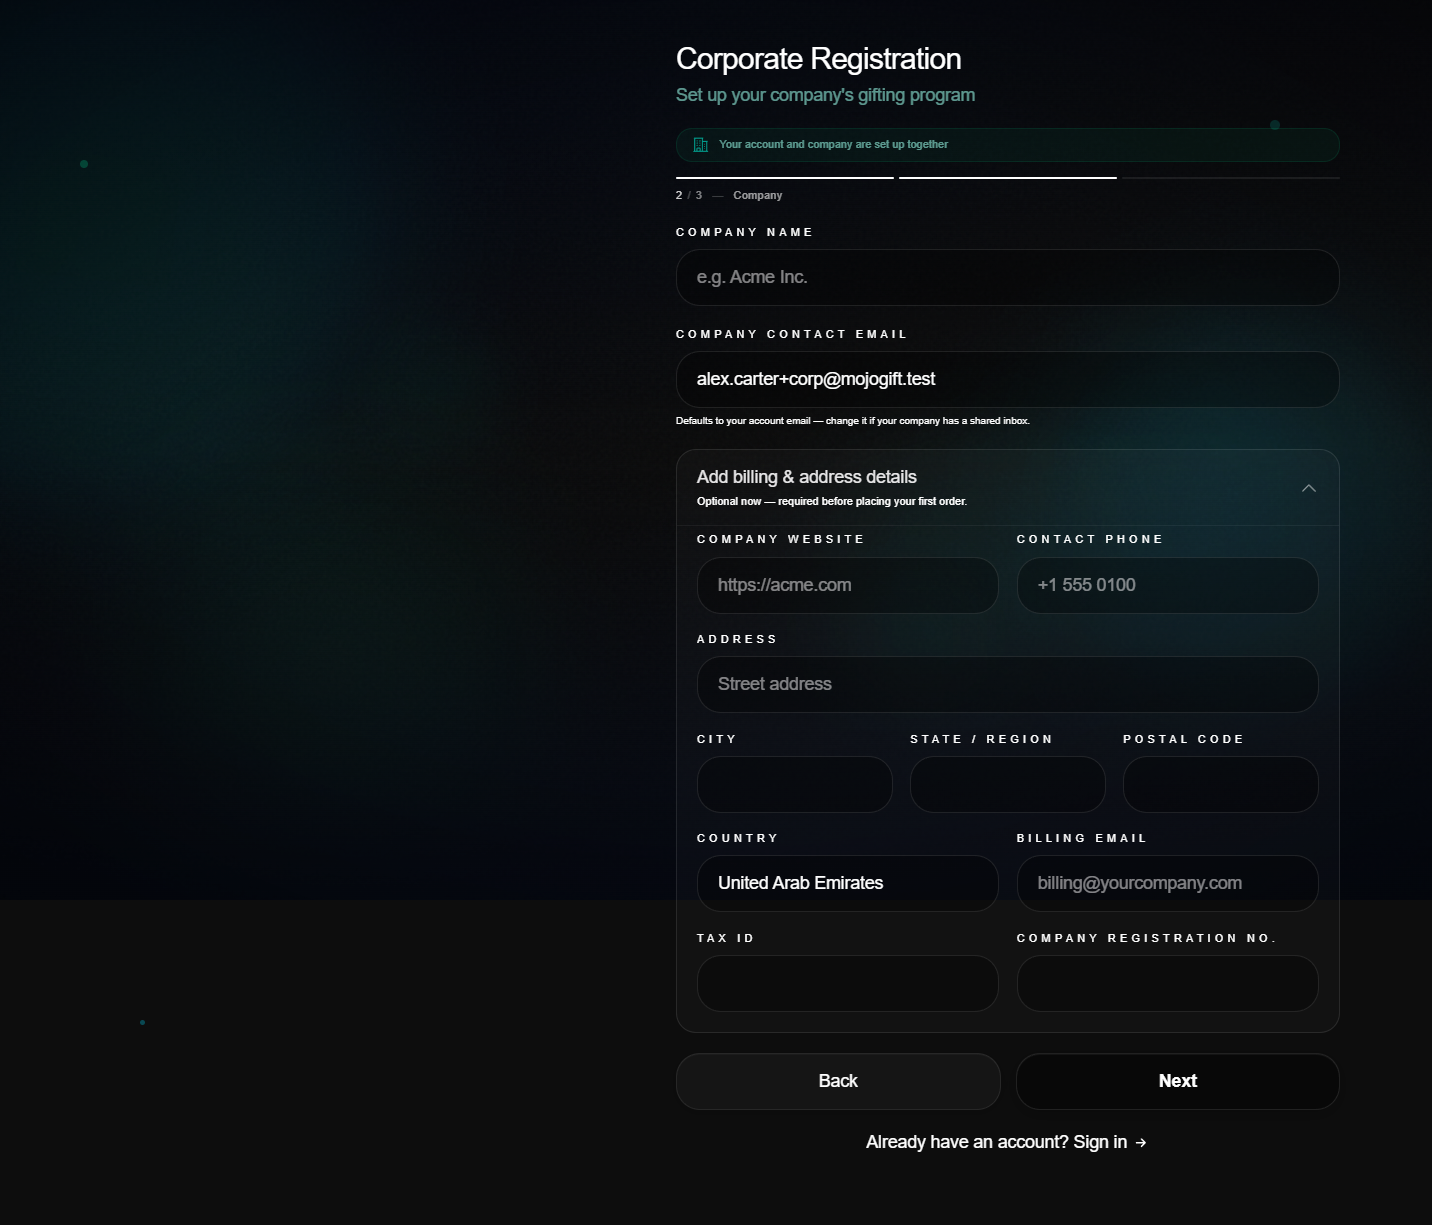
Required
| Field | What to enter |
|---|---|
| Company Name | The legal or trading name of the company. Shown on invoices and on gift cards if you do not customise the cover. |
| Company Contact Email | The email Mojo Gift uses for company-level communication (order confirmations, invoices, payment chasers). Defaults to your account email. Change it if your company has a shared inbox like gifts@yourco.com. |
Optional now, required before your first order
The collapsible Add billing & address details section reveals the rest of the company record.
| Field | What it is for |
|---|---|
| Company Website | Used to verify the company and to pull a logo on internal admin pages. |
| Contact Phone | Reached only when an order needs urgent clarification. |
| Address, City, State/Region, Postal Code, Country | The legal billing address. Required on invoices. |
| Billing Email | Where invoices are sent. Often a finance inbox separate from the contact email. |
| Tax ID | Your VAT, GST, or local tax registration number. Goes on invoices. |
| Company Registration No. | Your company's registration or trade licence number. Goes on invoices. |
Click Next to continue.
Step 3: Confirm
A read-only summary of what you entered.
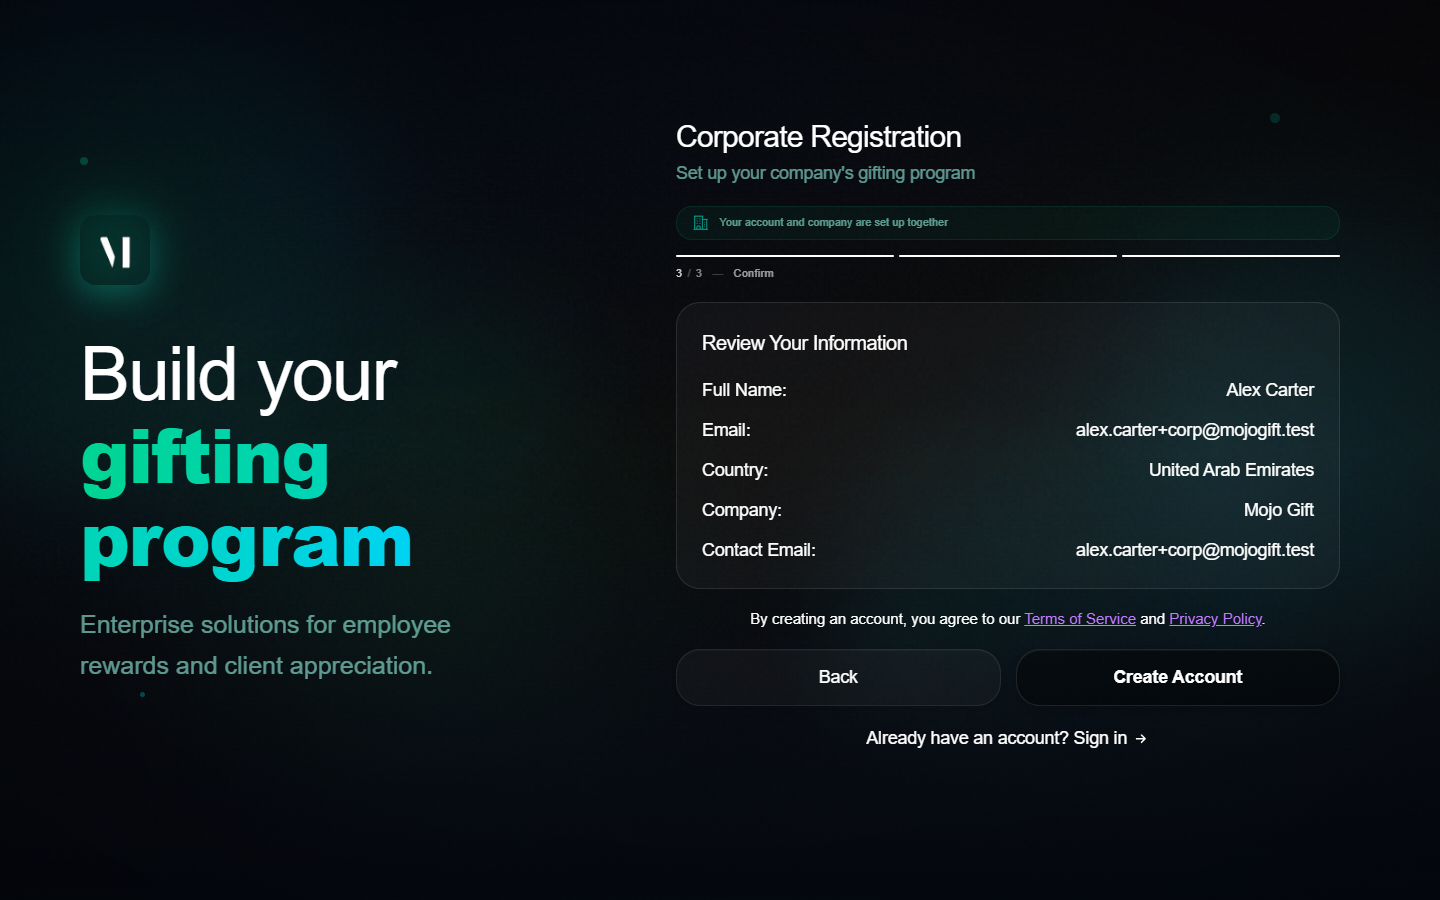
Submitting Create Account does the following in one transaction:
- Creates a user record for you with the role
CORPORATE_ADMIN. - Creates a corporate account record for the company.
- Links the two so that you are the owning admin on the new account.
- Signs you in and routes you to the corporate dashboard.
There is no email verification step before you can use the account. The email address you signed up with is trusted for password resets, but you do not have to click a confirmation link first.
What you see right after registering
Submitting Step 3 lands you on the corporate dashboard with a welcome modal on top.
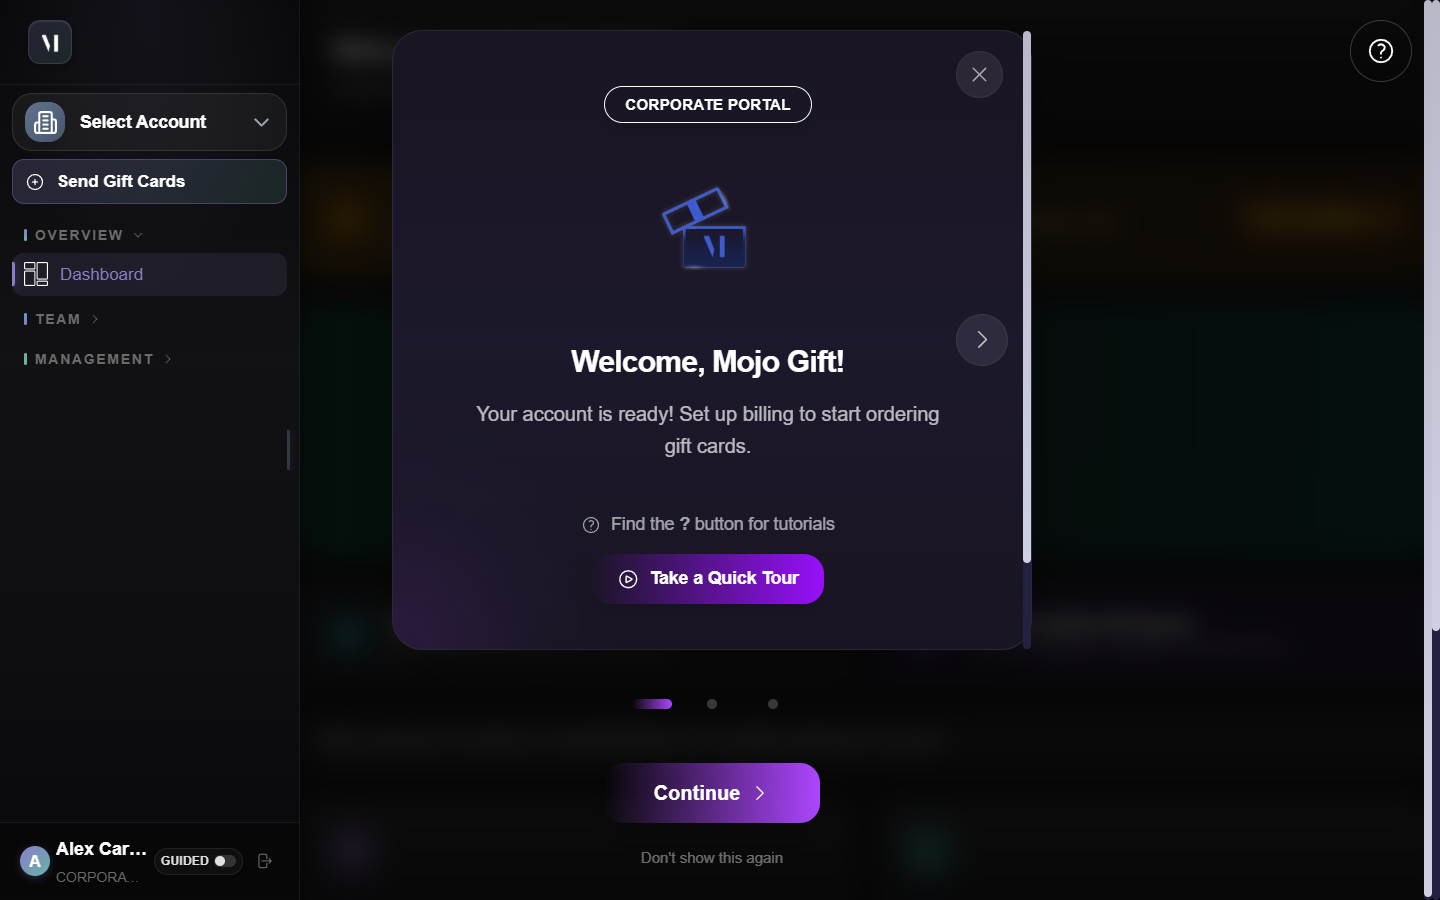
The carousel has three slides:
- Welcome. Acknowledges the account is created and points at billing as the next thing to finish.
- Everything You Need. A summary of capabilities (employees, budgets, bulk orders, analytics).
- Quick Start. Suggests the first three actions: complete billing, add employees, send your first gift.
Dismissing the carousel reveals the dashboard itself, which has a billing warning at the top if you skipped that section in Step 2.
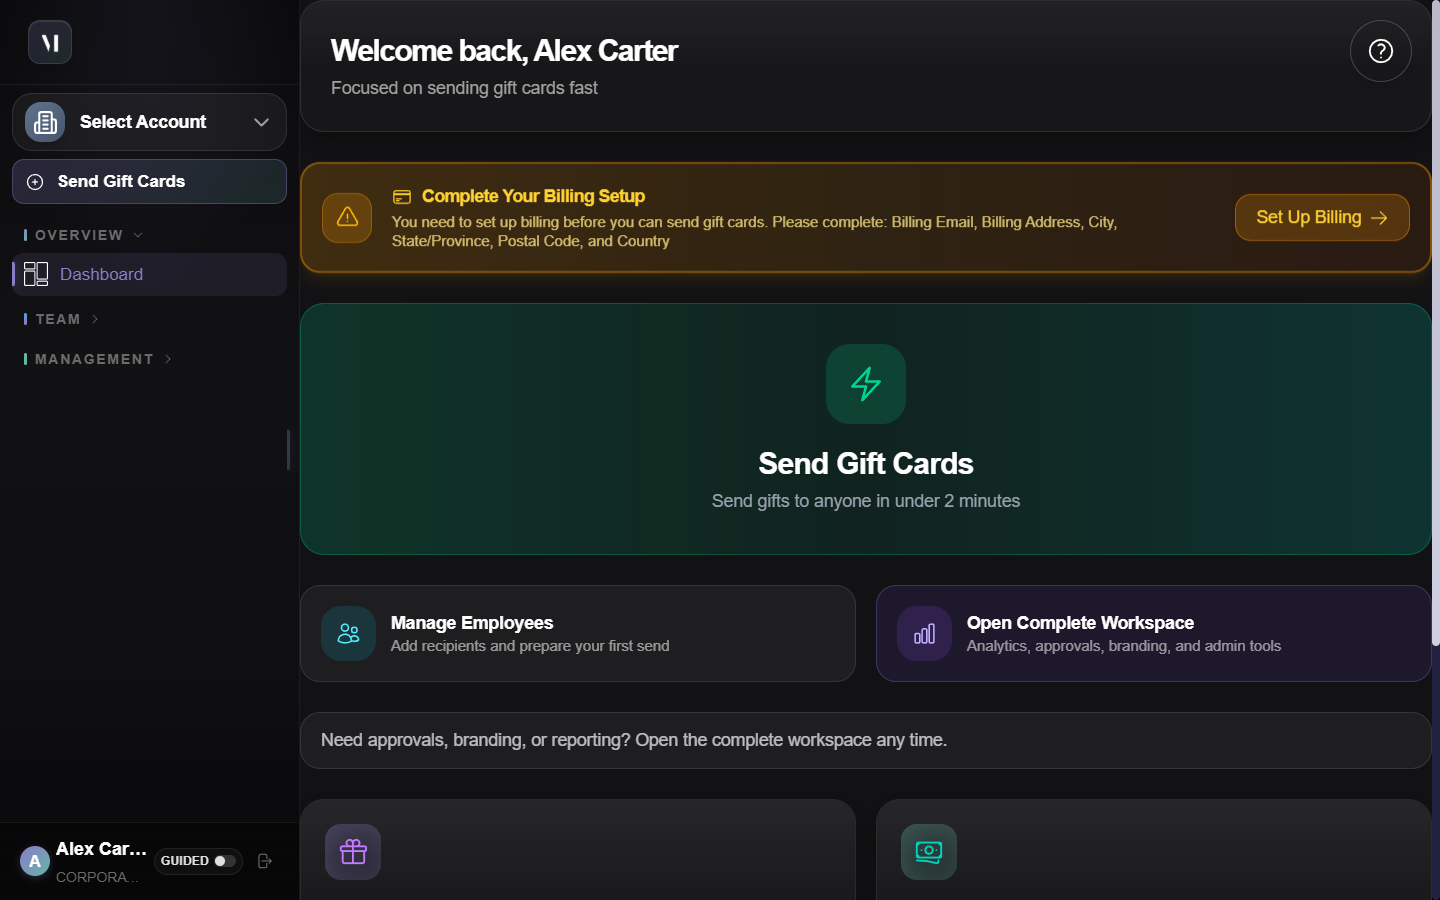
You cannot place an order until the missing billing fields are filled. The dashboard's main actions (Send Gift Cards, Manage Employees, Open Complete Workspace) are still visible, but starting an order will redirect you back to the billing form.
What is next
Once the account exists and billing is filled in, the next things to do, in order:
- Invite your team. Add the colleagues who will help place orders or approve them. See Roles and permissions.
- Place your first order. Walk through the bulk order flow. See Placing an order.
- Set up programs (optional). If you want recurring gifting (anniversaries, birthdays, milestones), configure them once now. See Programs.